Friday, April 8, 2011

My first furniture work!

First, I really have to work on taking pictures before all of my projects. I always get too excited and jump right in and think...... hmmm wait a minute I was supposed to take a picture........... I'm not so good at slowing down! lol So this project, like every other, I don't have a before picture!
So last year my aunt was moving and had a free desk..... it was horribly ugly but it was free! So I was happy to take it off her hands. I let it sit in a corner of my house for a while without touching it and finally said "ugliness be gone!" lol
I loaded it up and took it to my handy dandy Uncle Dude  to see what he thought what we could do about the super ugly paint. After some serious paint stripping and sanding we got it down to ALMOST wood. I had an idea in my mind as to what I wanted the finished product to look like. Usually when you have a preconceived idea as to what you want you can NEVER find exactly what you are looking for. This was not the time!! I picked an amazing Krylon paint called Pistachio. Then I went to Home Depot and found the exact knobs I was thinking about. Two cans of spray paint later and I was in LOVE!

Please nevermind the jumbled sewing mess on top!

Amazing knobs!

For some reason the color of this picture is kind of yellow.... I will take a new picture and repost it later.

10 days

The countdown has begun. CJ has left for a 10 day trip to Hawaii! I hope to get caught up on EVERYTHING! Including uploading more pics and updating my etsy and blog! Wish my luck!!

Sunday, April 3, 2011

My first craft show!

I finally got my first craft show under my belt!!! It was a little slow but I had such a great experience!! I got to do my first booth set up

Here is the overall picture of when we first set up. Somehow everything in this picture fit in my car (obviously not the background jazz)! lol

Here is my sign I made (pay no attention to the background table with records on it or CJ trying to avoid the camera! lol). I think this will suffice for now..... what do you think? I used this table to show all of the different patterns I used. I think it looks pretty cute!

Here is the armoire I got for free! I loved it but I also think it looked a little unapproachable and a little messy. So I gave it to CJ's mom, who immediately loved it, and hope to find something that I like better.

Here is the last table I had.  


I met some amazing women and got some GREAT tips for my next show! I also got some great news! A lady that is opening a boutique in my hometown asked me to put some stuff in her shop!!! Soooooooooo hopefully by April 28th yours truly will have some of my homemade items in a boutique!! Woo Hoo!

Wish me luck!
Happy Crafting

Wednesday, March 23, 2011

Sewing extravaganza!!!

Here are some of the newest items I have been sewing and will be updating my etsy account ASAP!!
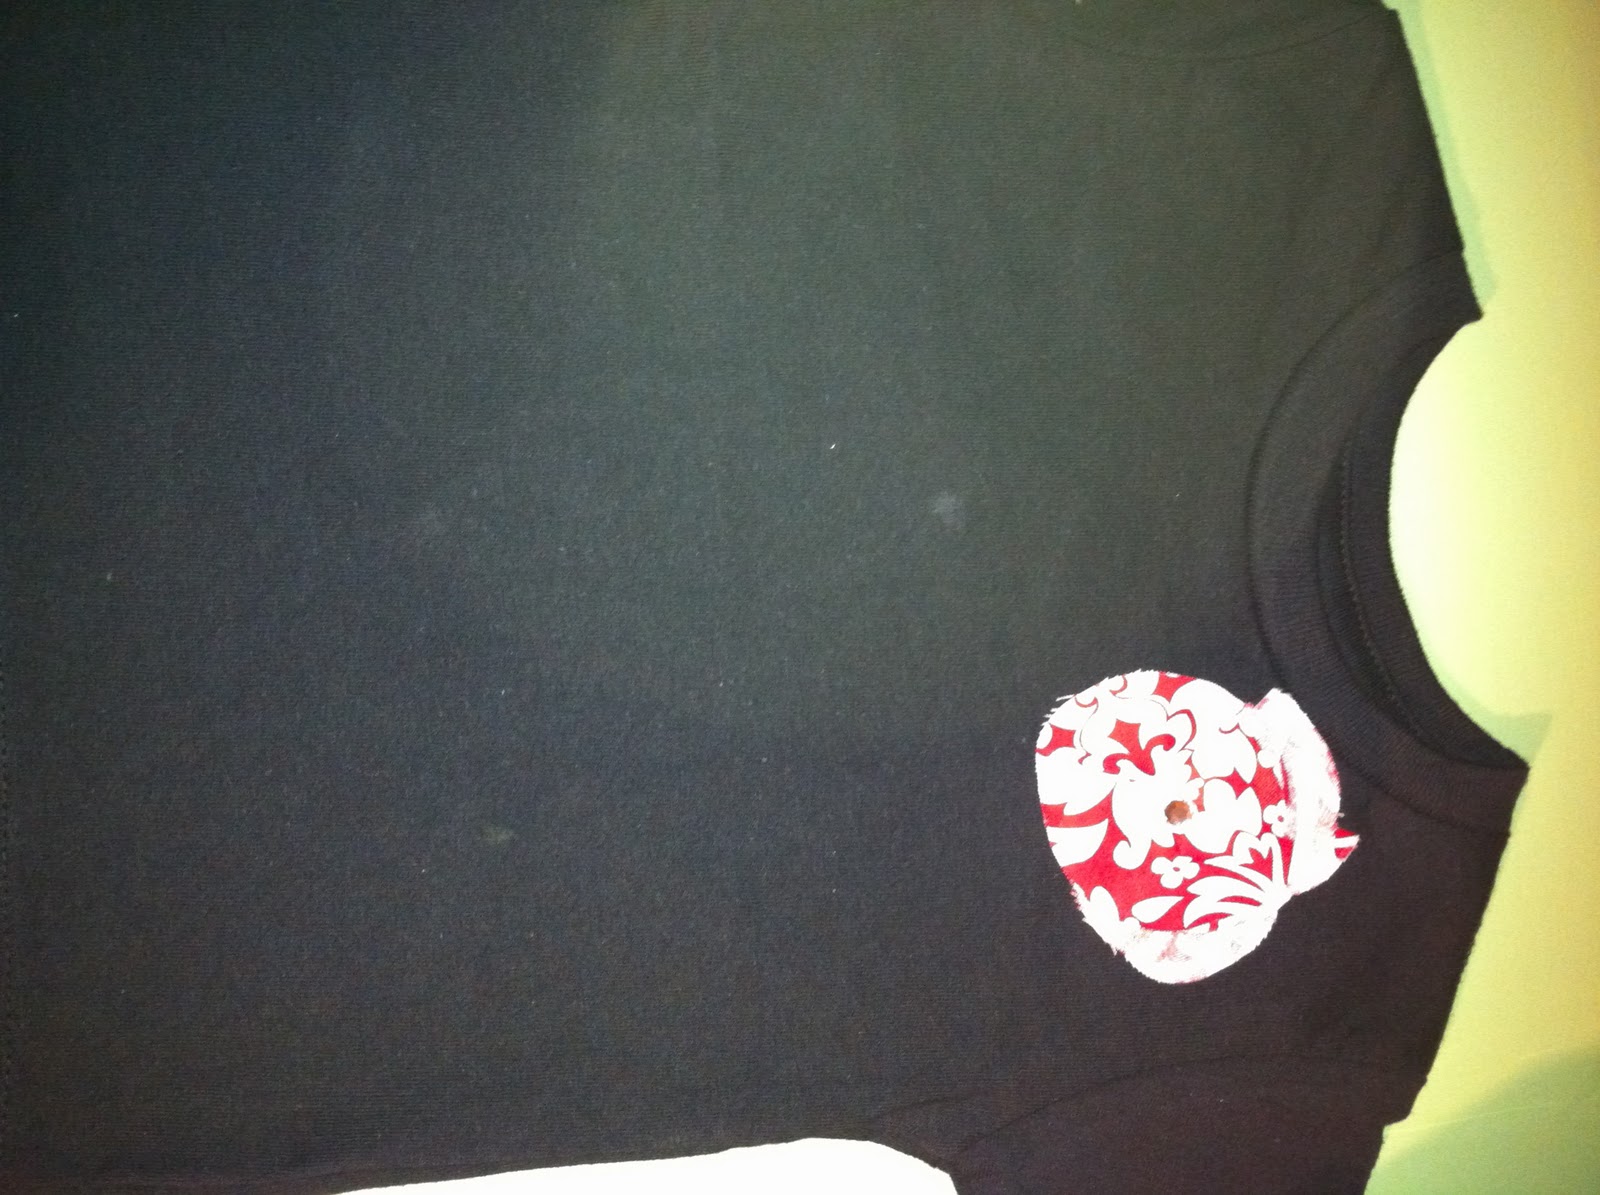
Here is a bow I made to put on a t-shirt.

Here it is on the shirt.

Here's the second bow I made.

Here's the second bow on the other shirt.

The owl before I sewed it on.

The finished product.


I got a new pattern for these totes and tried it out. I LOVE them!


Super cute back of a t-shirt.

My favy pattern Fleur de lis!


Here is a dress I jazzed up with some ruffles and  "J" for sweet baby Jaiden!


Here's the back of the dress.

Here are the 3 packs of burp cloths with my tags!


Super cute cross shirt.


Perfect fleur di lis onsie 
Ruffles on the back of a t-shirt I made. 

Super sassy booty of a onsie I made.

Here is a onsie I did and cannot figure out how to rotate this picture sorry guys!

Another sweet onsie!


Ruffles on the back of a t-shirt I made.

Pretty flower onsie.

another owl onsie.

Pretty bedazzled fleur di lis shirt

The front of one shirt with a super sassy flower.

The back of the shirt. Loving this heart pattern

Sweet lady bug!!

Cute new hair clips

I love this pattern, perfect for your little boy.

I tried making these little fabric rosettes and really like them. They are super cute.

And here they are on a t-shirt.
Now, onto updating my etsy account!!!
Happy crafting!

Pumpkin Roll

I was recently invited to a party and looking for something to bring that would rock the socks off the other guests. My friend gave me a recipe for a pumpkin roll and I have fallen in love for several reasons! First its a simple recipe and second EVERYONE will love it!

For the Cake you need:
3/4 cup of flour
1/2 tsp baking powder
1/2 tsp baking soda
1/2 tsp ground cinnamon
1/2 tsp ground cloves
1/4 tsp salt
3 large eggs
1 cup sugar
2/3 pumpkin

For the filling:
8 ox cream cheese (softened)
1 cup of sifted powder sugar
6 Tbsp butter (softened)
1 tsp vanilla extract
extra powdered sugar

*kitchen towel or tea towel slightly larger than your pan.

First, preheat your oven to 375 degrees. Grease your 15X10 jelly roll pan. Line your pan with wax paper.


 Grease and flour your wax paper. 


 Then get a clean kitchen towel and lay it out on the counter. Sprinkle it with generous amounts of extra powdered sugar.

Next, in a small bowl, combine, flour, baking powder, baking soda, cinnamon, cloves, and salt. Set this aside. Then beat the eggs and sugar in a separate bowl until it thickens. Beat in the pumpkin into this mixture. 


Slowly stir in the flour/spice mixture into your egg/sugar mixture until even mixed. 
Spread this mixture evenly into your jelly roll pan. Bake for 13-15 minutes or until the cake springs back when touched. Immediately loosen and turn the cake onto the towel. Carefully peel off the wax paper and roll up the cake and the towel together, starting with the narrow end. Cool on a wire-rack (best if completely cooled, like overnight)
For the filling: beat the cream cheese, powdered sugar, butter and vanilla until smooth. Carefully unroll the cake and remove the towel. Spread cream cheese mix over the entire cake. Reroll the cake and wrap it in plastic wrap. Refrigerate for at least an hour. Unwrap and sprinkle with powdered sugar before serving!!! And Voila!

imgres.jpeg


Super easy yummy recipe!

Thursday, March 10, 2011

Sneak Peak Update!

So about a week ago I posted some pictures of some glass doors..... I am finally ready to show what I did with those doors.
First, I should mention they were FREE! Cj's company has been trying to clear out their shop and just happened to have these amazing little doors sitting in a corner.... Knowing my love for free and furniture they offered and I immediately accepted.
I knew exactly what I wanted to do with them! First, I taped the glass and spray painted the wood white.
After I finished painting them I peeled off the paint and cleaned the glass 
I picked some suuuuuper cute fabric I had and also picked up some plain black felt from Hobby Lobby (p.s. I heart Hob Lob!)
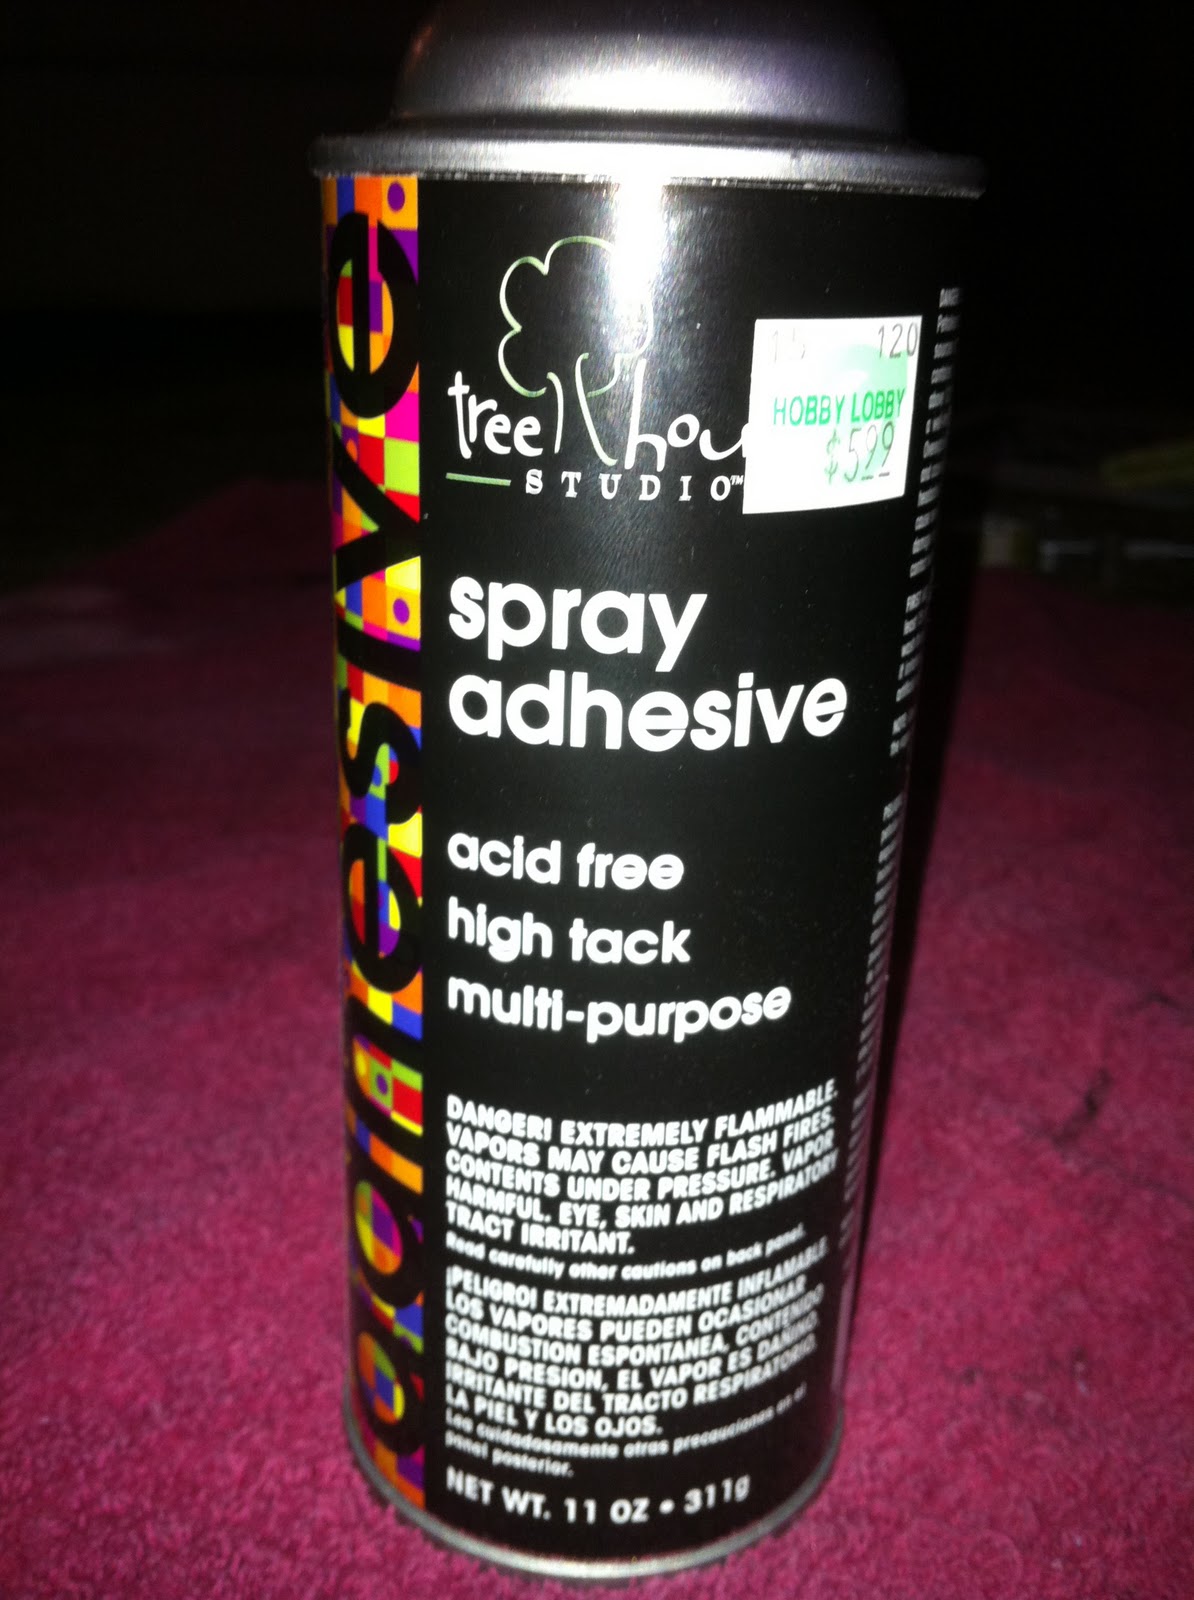
I cut the fabric and felt to the size I wanted and using spray adhesive I glued them to the back side of the glass like this....
I let them lay like this overnight to make sure the fabric would stay. The next morning I flipped them over and ta da! Here are the two finished projects...
I LOVE the look but I might get some sand paper just to rough up the edges anyways I am absolutely loving these on my walls! 

Happy Crafting!